Basic CRUD Web App with SvelteKit with Drizzle ORM, iron auth and Tailwind CSS
Beyond React
Since I started with web development, React was and still is considered to be the state of the art and I nevery really doubted it much. The same is true for single page applications (SPA). They were the cool kid on the block and everybody hailed them as the modern way of doing things. Recently however, I started to really envy a bit the multip page application (MPA) architecture (with server side rendering and more).
In a previous article I was looking at how to create a basic CRUD Web App using Next.js 13. It was a nice experience developing it as an MPA. However, I recently stumbled on this blog post. It compares React to Java: both became a quasi standard in the industry and it seems to be that people are very slow at looking at, learning from and adopting to newer paradigms. At the end, the author suggests to try out some of the other Javscript frameworks out there, especially Svelte and SvelteKit. This article is now the product of my trying them out and seeing how they compare to React and Nextjs.
Example CRUD app with Svelte, Iron and Drizzle ORM
Similar to the last time, I have created an example web app with authentication using iron, a database connection to SQLite using Drizzle ORM, and some basic CRUD functionality to add, update and delete enitites (patents here). You can find the code here on GitHub. I will use some snippets from it to highlight some points in the following sections.
Svelte in comparison to React
The first thing that stood out for me was that Svelte code feels "flatter" than React code. React code seems to always yield very deeply nested code (e.g. the famous provider stack). Svelte code is very declarative while React code is basically a big pile of function calls. A Svelte file has the code, the html template and the style as three different "sections" within the file and looks something like this
<script>
  // here is the JS code
</script>

<!-- here is the HTML-->
<h1>Hello world</h1>
<p>Some more text here</p>

<!--Some optional, component-scoped styling follows here -->
<style>
  ...
</style>
In React, the state management heavily relies on the useState hook, props being passed around and Context. These Contexts are use to avoid passing around props and state from components living higher up in the hierarchy (where the state lives) to components further down in the hierarchy (where the state is used and changed). Svelte on the other hand uses two-way bindings and stores to achieve the same. Reactive variables have to be declared explicitly as such (using $:). In React, on the other hand, variables defined in components are in general recalculated as the props change. Because of this recalculations React might become slow as large parts of the (virtual) DOM tree are recalculated although only a small portion actually changes.
A login screen using a simple HTML form
Svelte tries also to adhere more to web standards for forms etc. -- similar to like Remix does. Thus, you can easily create web apps that do not necessarily rely on Javascript for running. In my example app, the page code for the login form looks like this (without the Tailwind CSS classes)
<script lang="ts">
  import {enhance} from '$app/forms';
  import  type { ActionData } from './$types'; // auto-generated types

  export let form: ActionData  // connected to the enhance
</script>

<h1>Login</h1>

<form method="POST" use:enhance>
  <label>
    Email
    <input name="email" type="email">
  </label>
  <label>
    Password
    <input name="password" type="password">
  </label>
  <button>Log in</button>
</form>

{#if form?.error}
<div>{form.error}</div>
{/if}

<a href="/signup">No login? Sign up!</a>
It's a very basic Login form with email and password. In order to enhance it a bit, some Javascript has been added that can help show an error if one is returned from the login end point. But the general login flow would work even if the client would have switched off Javascript. Also, note that you navigate using simple <a> links instead of dedicated <Link> components like in Next.js or Remix.
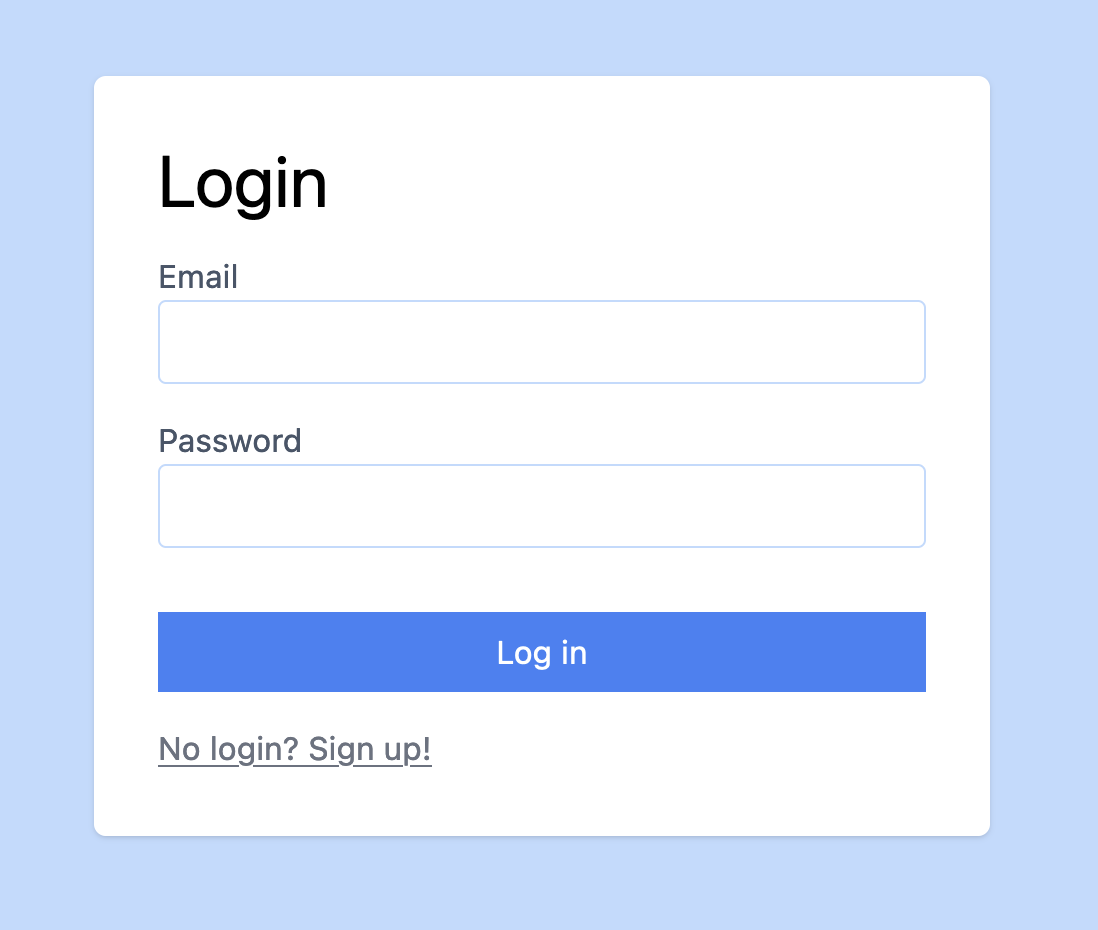
The login screen created by a simple HTML form and enhanced with some Javscript for the case that an error is returned.
CRUD with forms
Similar to the login forms, the CRUD functionalities for creating, updating and deleting patents are also implemented with basic forms (again not showing the Tailwind CSS classes for styling)
<script lang="ts">
    export let data  // smiliar to the "props" in React
</script>

<h1>Portfolio</h1>

<div>
{#each data.portfolio as patent (patent.id)}
    <form method="POST" action="?/post">
        <input type="hidden" name="id" value={patent.id} />
        <input type="text" value={patent.name} name="name" />
        <input type="submit" value="Update" />
        <input type="submit" value="Delete" formaction="?/delete" />
    </form>
{/each}

<form method="POST" action="?/post">
    <h2>Add Patent</h2>
    <label> Name
        <input type="text" name="name" placeholder="Name..." />
    </label>
    <button>Add</button>
</form>
</div>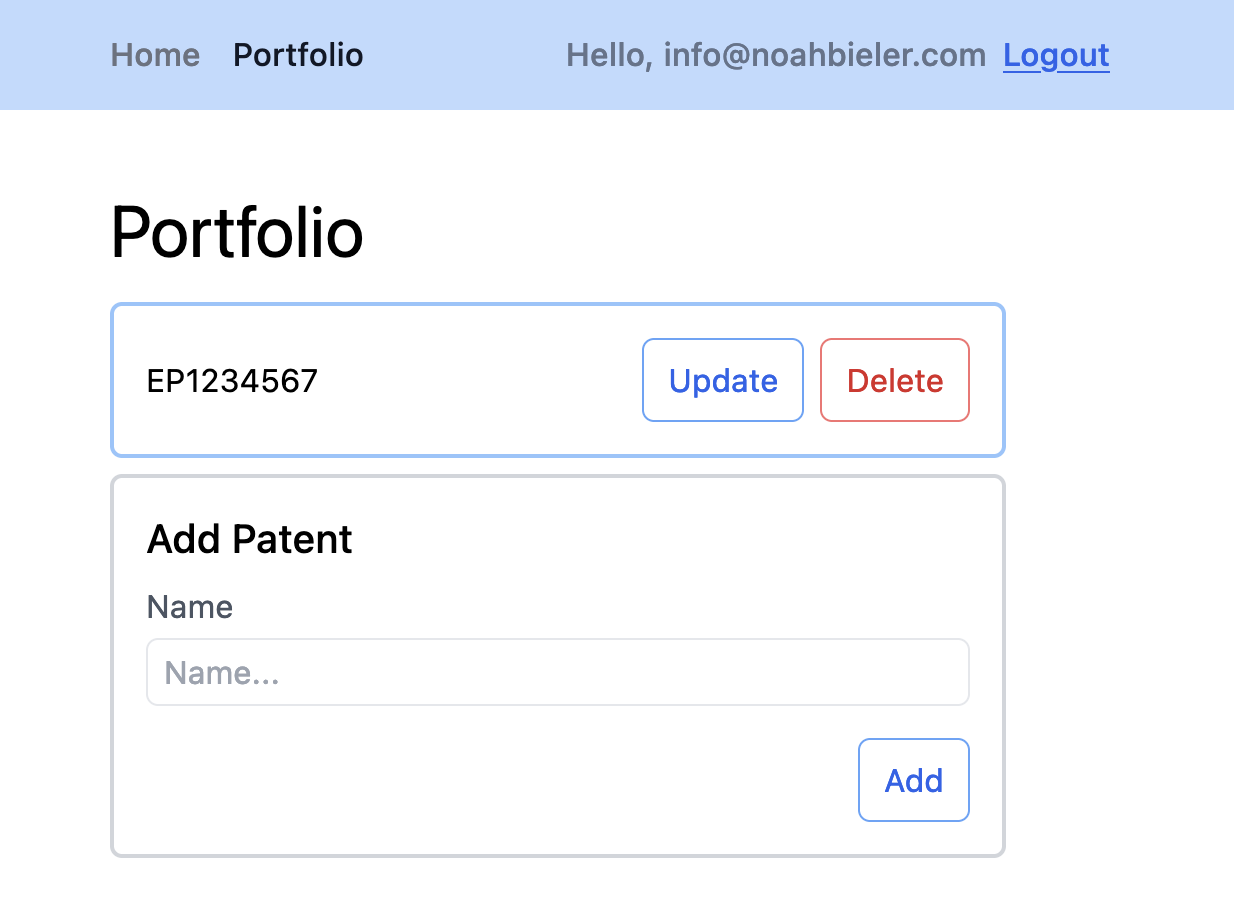
The CRUD functionalities are also implemented with some simple forms that target different form actions.
The export let data defines the data that is being returned by the server side load function (see below) and contains the patents array (or the "Portfolio"). We then loop over each patent and show it in a card with its name. The name can be updated or we can delete the whole patent. At the end of the list, there is a form to add a new patent. The formaction field (on the button) or action field (on the form) are used to trigger the correct action on the server. Again, no particular Javascript is used for handling the form itself.
The corresponding actions are defined on the server as
import { deletePatent, postPatent, getPatents } from '$lib/server/patents.js'

export const load = async ({locals}) => {
    return { portfolio: getPatents(locals.session.user) }
}

export const actions = {
    post: async ({request, locals}) => {
        const formData = await request.formData()
        const name = formData.get('name') as string
        const id = parseInt(formData.get('id') as string)
        const {session: {user}} = locals
        postPatent({name, id: isNaN(id) ? undefined : id, user})
    },
    delete: async ({request, locals}) => {
        const formData = await request.formData()
        const id = parseInt(formData.get('id') as string)
        const {session: {user}} = locals
        deletePatent({id, user})
    }
}
The load function "fills" the data in the first file. The actions post and delete are the ones triggered by the forms (as ?/post and ?/delete). The locals variable contains the session data and has been filled by a server hook (kind of a "middleware"):
import { redirect, type Handle } from '@sveltejs/kit';
import { getSession } from '$lib/server/session';
import { SESSION_PASSWORD } from '$env/static/private';

// all the routes under (auth)
const unprotected = /^\/(login|logout|signup)$/;

export const handle: Handle = async ({ event, resolve }) => {
    if (!unprotected.test(event.url.pathname)) {
        const cookies = event.cookies
        const session = await getSession(cookies, SESSION_PASSWORD)
        if (!session) {
            throw redirect(303, '/login')
        }
        event.locals.session = session
    }
    const response = await resolve(event);
    return response;
}
This hook looks at every request coming to the server. If the request is for a protected page, it checks if there is a valid session cookie. If it is present, the session gets added to the locals variable; if not, the client is redirected to the /login page.
Authentication with iron
The authentication is pretty much the same as for the React example app. One nice thing though is that I didn't need to rely on a wrapper library around iron as Svelte makes it quite easy to simply use the most basic JS libraries without any special React or Nextjs wrapper around it.
Transforming sessions into cookie strings and back is done as follows:
import Iron from '@hapi/iron';

export type Session = {
    user: string
}

// password must only live on the server
export async function session2cookie(session: Session, password: string): Promise<string | undefined> {
    const sealed = await Iron.seal(session, password, Iron.defaults);
    return sealed;
}

export async function cookie2session(cookie: string, password: string): Promise<Session | undefined> {
    const unsealed = await Iron.unseal(cookie, password, Iron.defaults);
    return unsealed;
}
and to create a session or get a session from a Cookie, we use
import argon2 from 'argon2'

import type { Cookies } from "@sveltejs/kit";
import { getUser, addUser } from './users';

export const session_cookie_name = 'session'
export async function getSession(cookies: Cookies, password: string): Promise<Session | undefined> {
    const cookie = cookies.get(session_cookie_name)
    return cookie ? cookie2session(cookie, password) : Promise.resolve(undefined)
}

export async function createSession(email: string, password: string, register: boolean) {
    const user = getUser(email)
    if (user) {
        const the_same = await argon2.verify(user.hashed_password, password)
        if (the_same) return {user: email}
        else return undefined
    } else if(register) {
        const hashed_password = await argon2.hash(password)
        addUser({email, hashed_password})
        return {user: email}
    } else {
        return undefined
    }
}
Connecting to a SQLite Database with Drizzle ORM
As a DB solution I wanted to try out Drizzle ORM with SQLite instead of Prisma.io and Postgres like the last time. It felt pretty nice to work with.
First, I defined the schema for the users and patents table. Then, I infered the types for the entities from the schema.
import type { InferModel } from 'drizzle-orm';

import { integer, sqliteTable, text } from 'drizzle-orm/sqlite-core';

export const users_table = sqliteTable('users', {
    email: text('email').notNull().primaryKey(),
    hashed_password: text('hashed_password').notNull(),
})

export type User = InferModel<typeof users_table>

export const patents_table = sqliteTable('patents', {
    id: integer('id', { mode: 'number' }).primaryKey({ autoIncrement: true }),
    name: text('name').notNull(),
    user: text('user').notNull().references(() => users_table.email, { onDelete: 'cascade' }),
})

export type Patent = InferModel<typeof patents_table>
export type NewPatent = InferModel<typeof patents_table, 'insert'>
The user on the patents table is a foreign key. In order to make the ON DELETE CASCADE to work, make sure that you switch on the necessary pragma in SQLite
PRAGMA foreign_keys = ON;Another nice thing is that you can infer the types from the schema. And not only the type of when the entity is in the database (Patent), but also the type when inserting it into the DB (NewPatent).
Migrations are handled also quite elegantly. You create them with drizzle-kit:
npx drizzle-kit generate:sqlite --schema=src/lib/server/schema.ts --out=src/lib/server/migrationsOnce created, they can be run automatically, when the database connection is created during the server startup
const sqlite = new Database('sqlite.db');
export const db: BetterSQLite3Database = drizzle(sqlite);

migrate(db, { migrationsFolder: 'src/lib/server/migrations' });
Conclusion
All in all, it was quite a pleasant experience to create this web app. I could imagine very well how more and more developers will move to Svelte from React and that it might be even adopted by the business side at one point. Drizzle ORM was also pleasant to work with, although the documentation is still a bit sparse; some of the solutions (like the InferModel for insert) I only found by accident.
If you want to try it again yourself, either check my code on GitHub or get started with the amazing Svelte tutorial.